


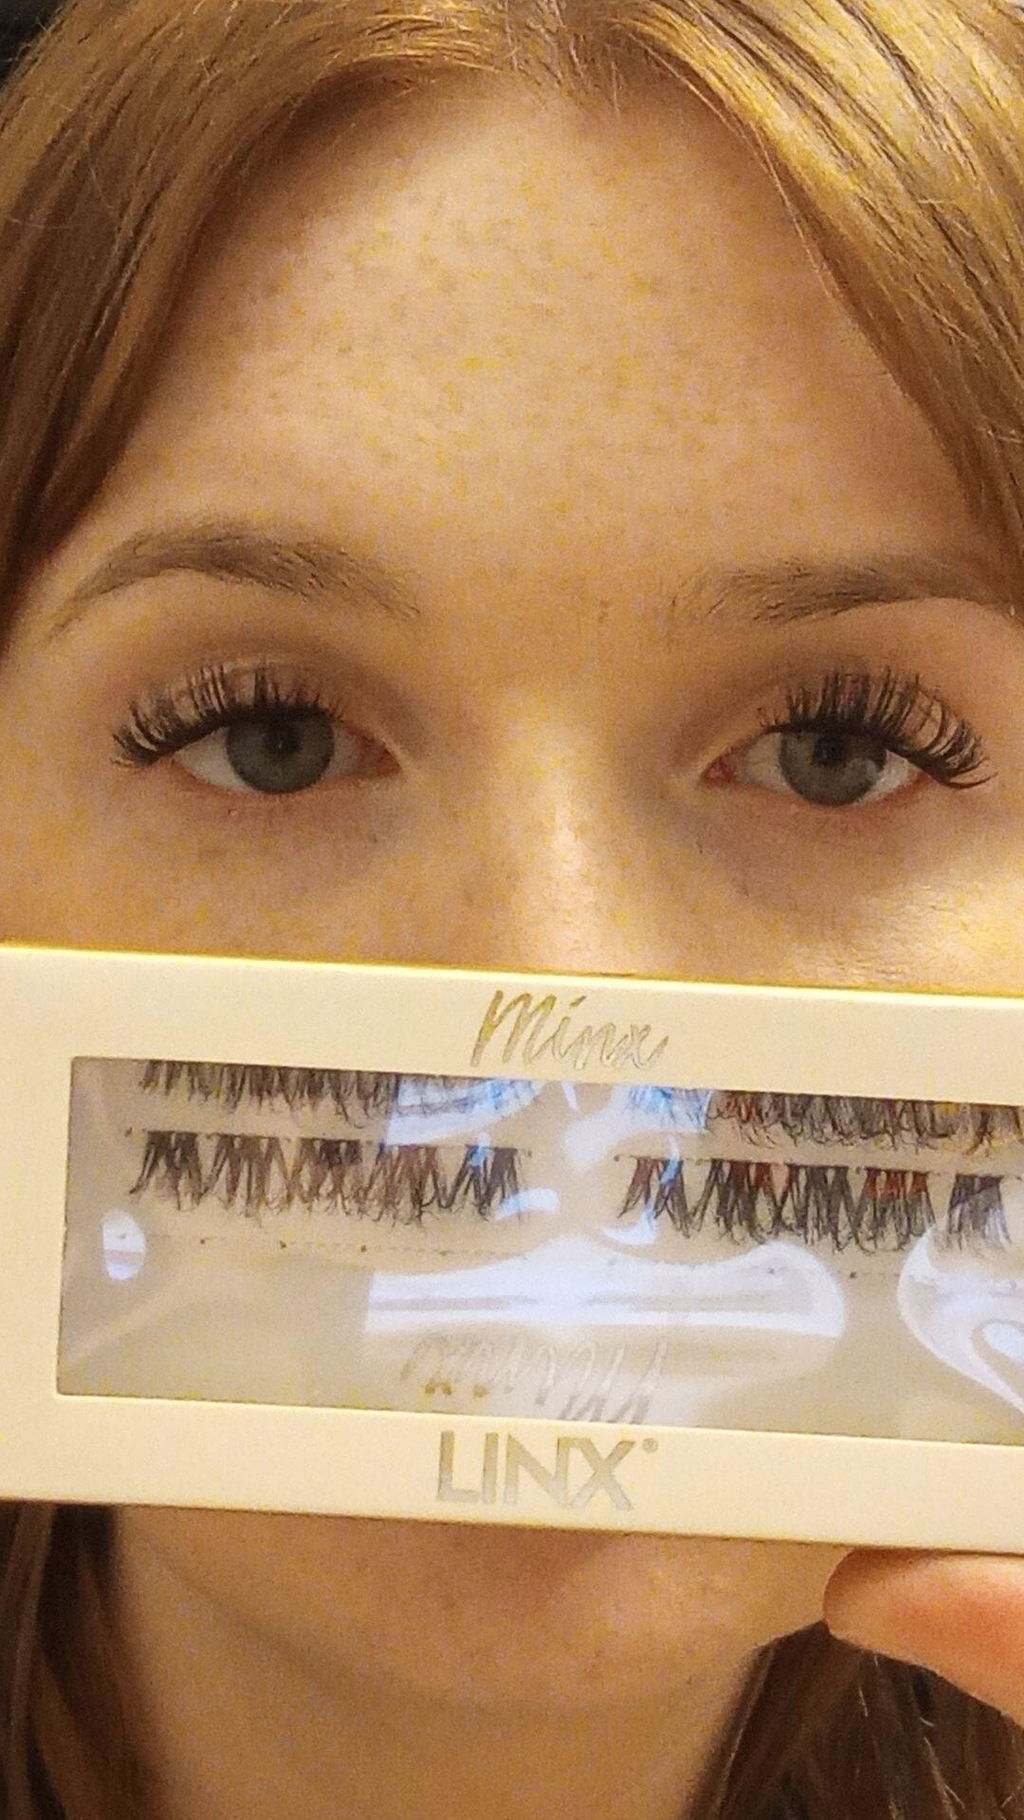
MINX
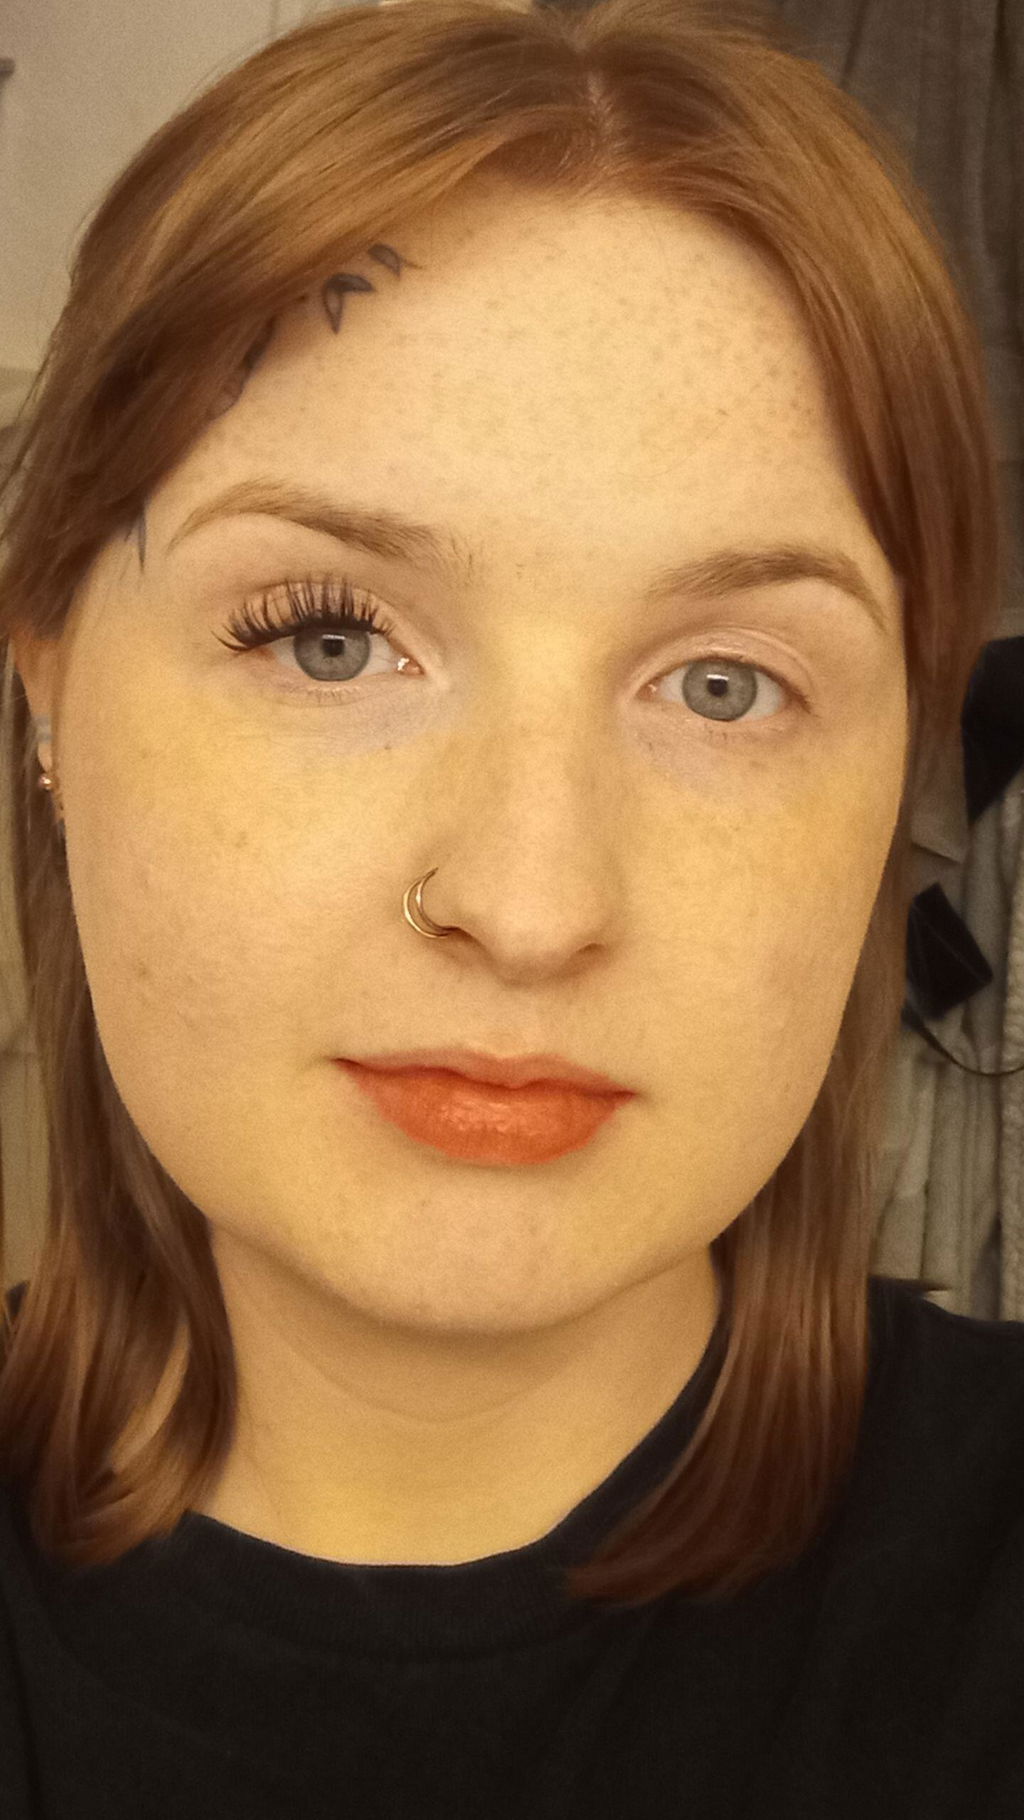
- Great for beginners

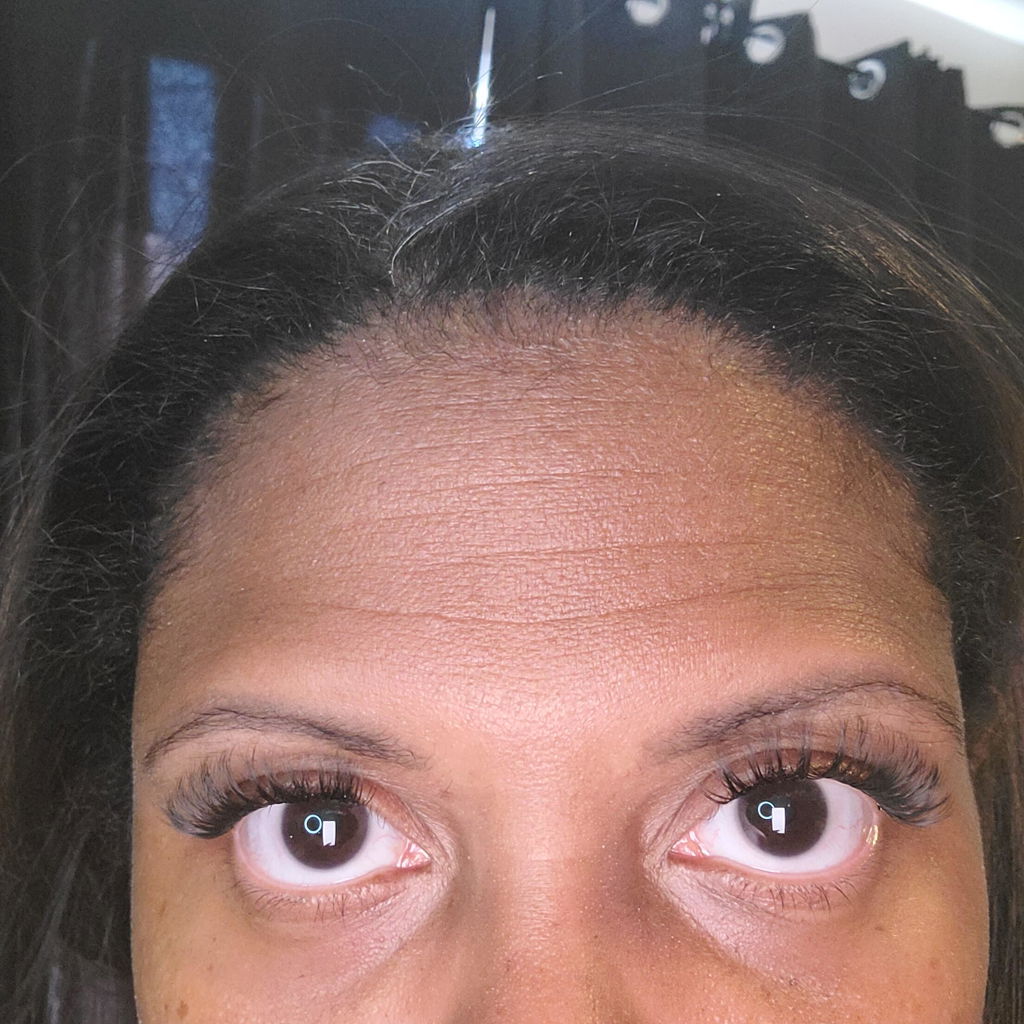
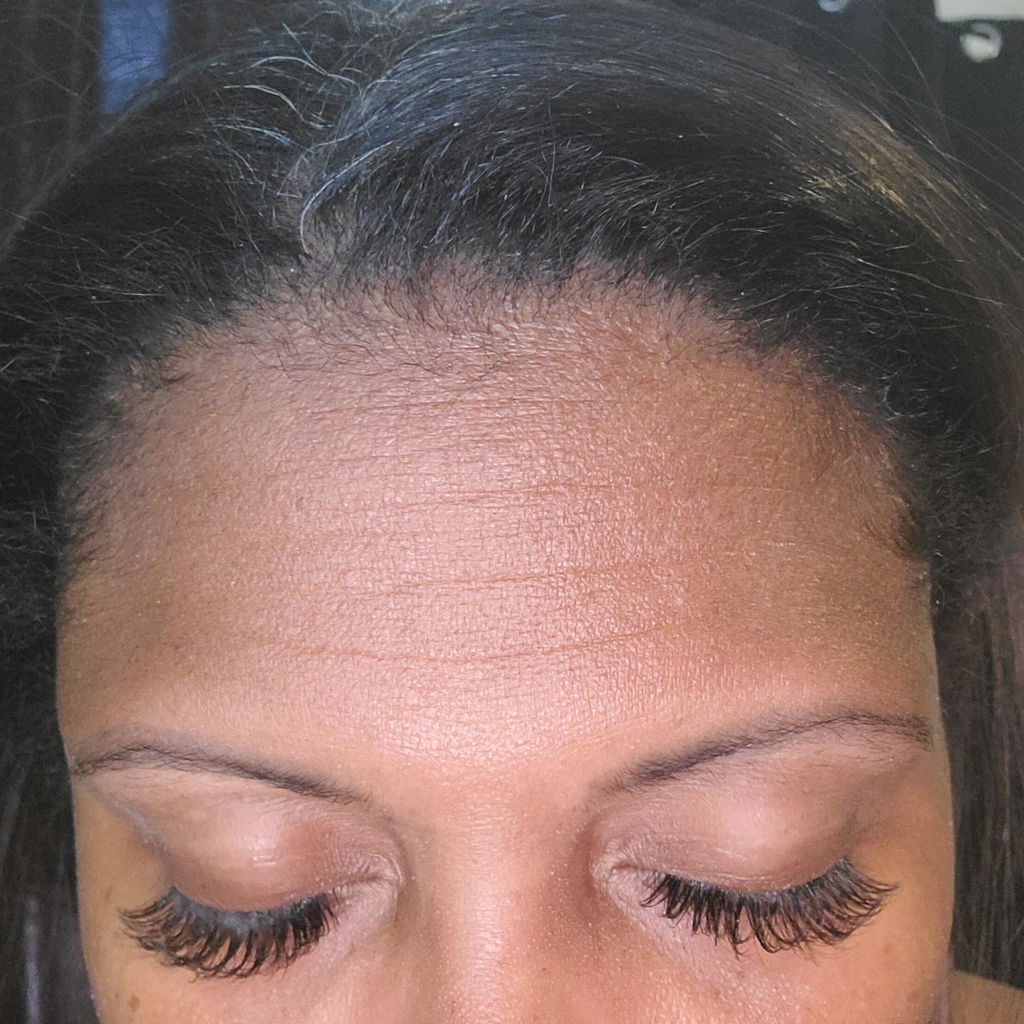
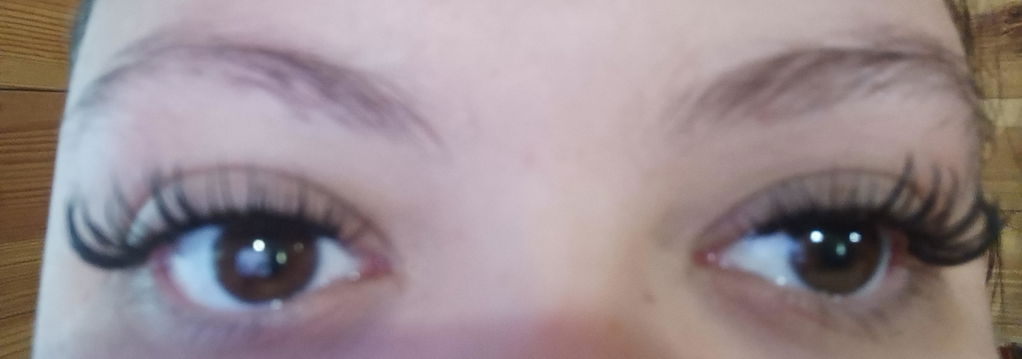
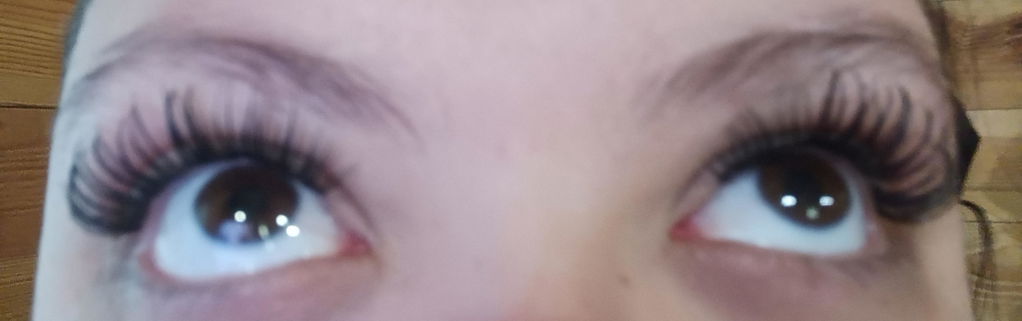
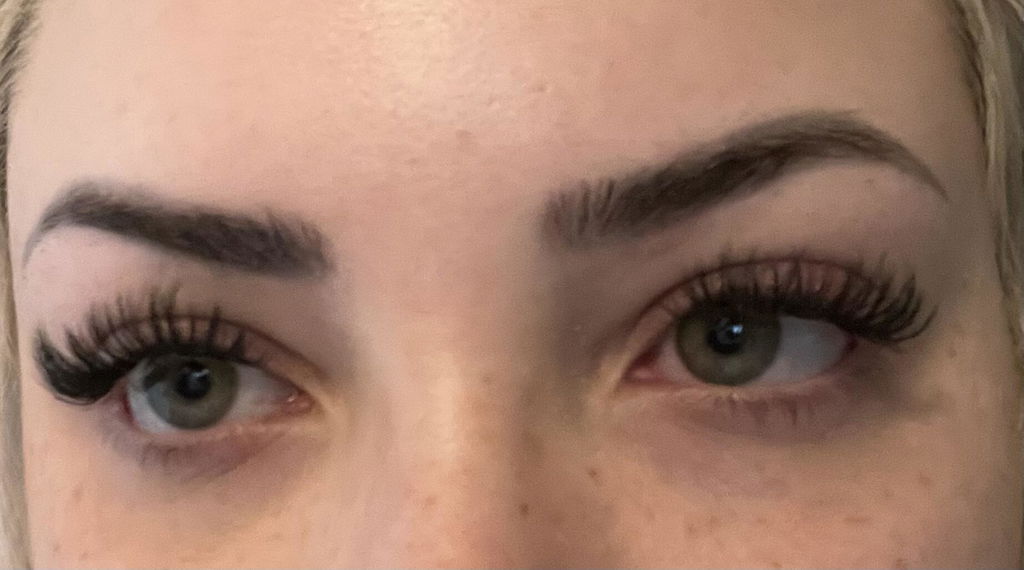
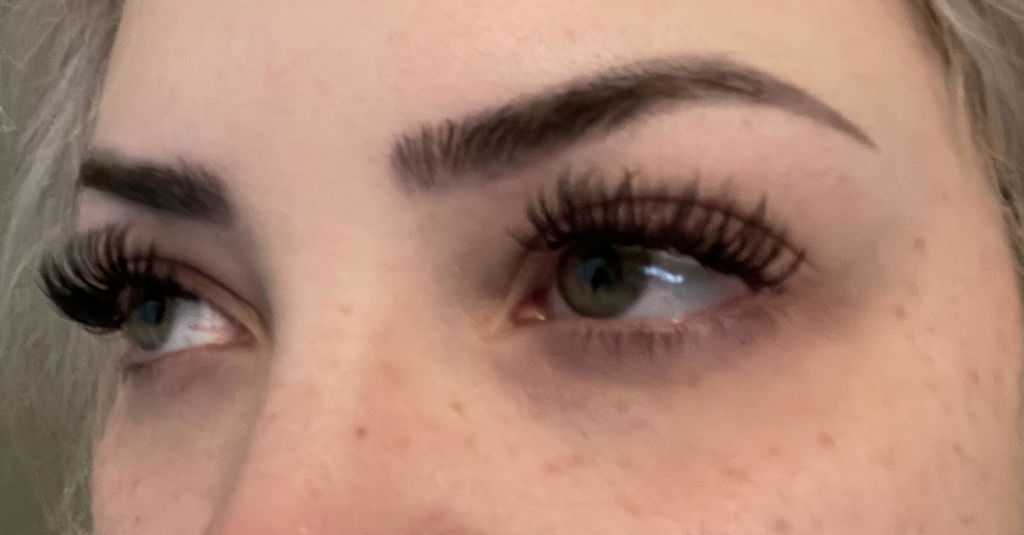
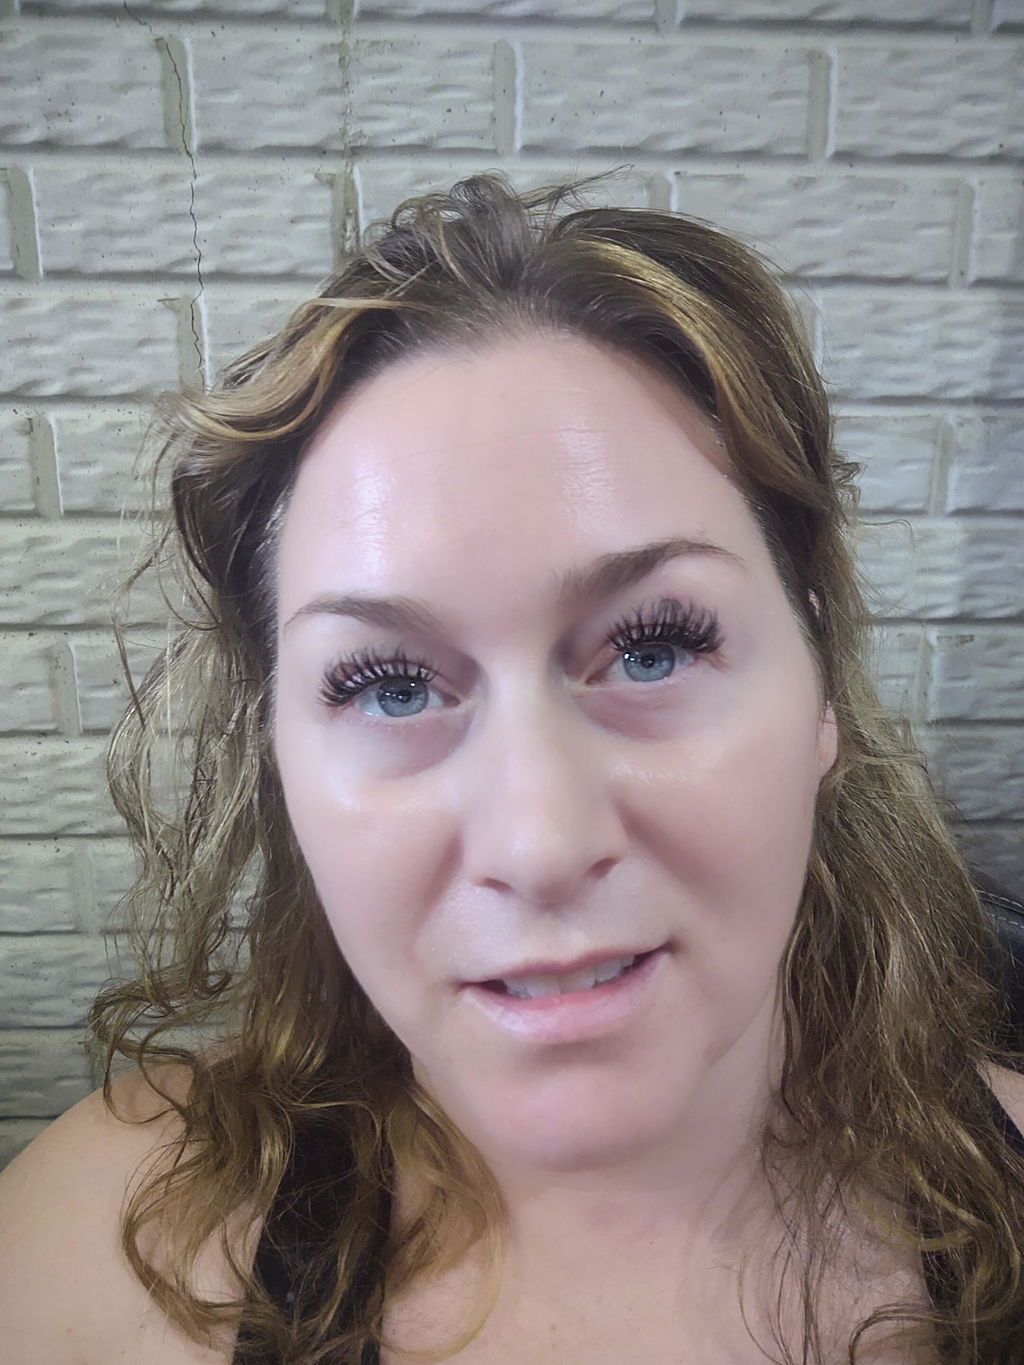
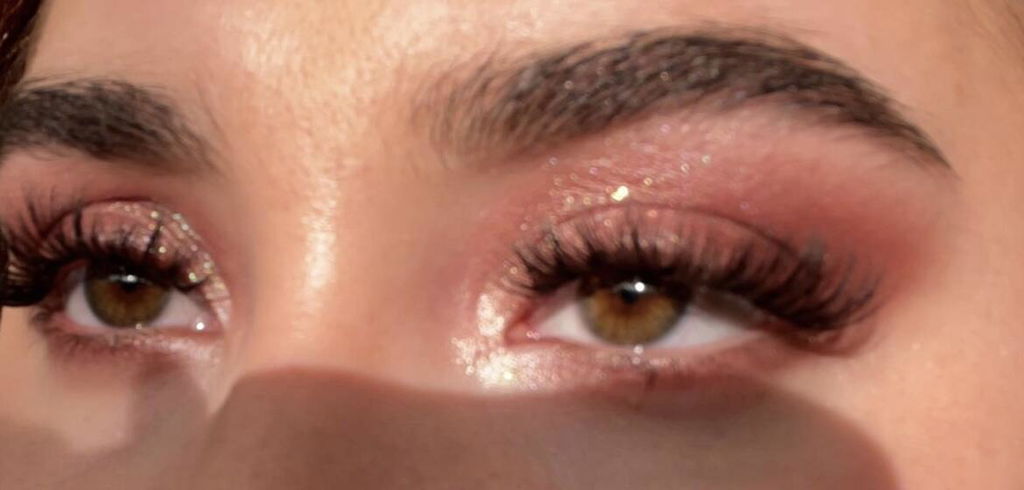
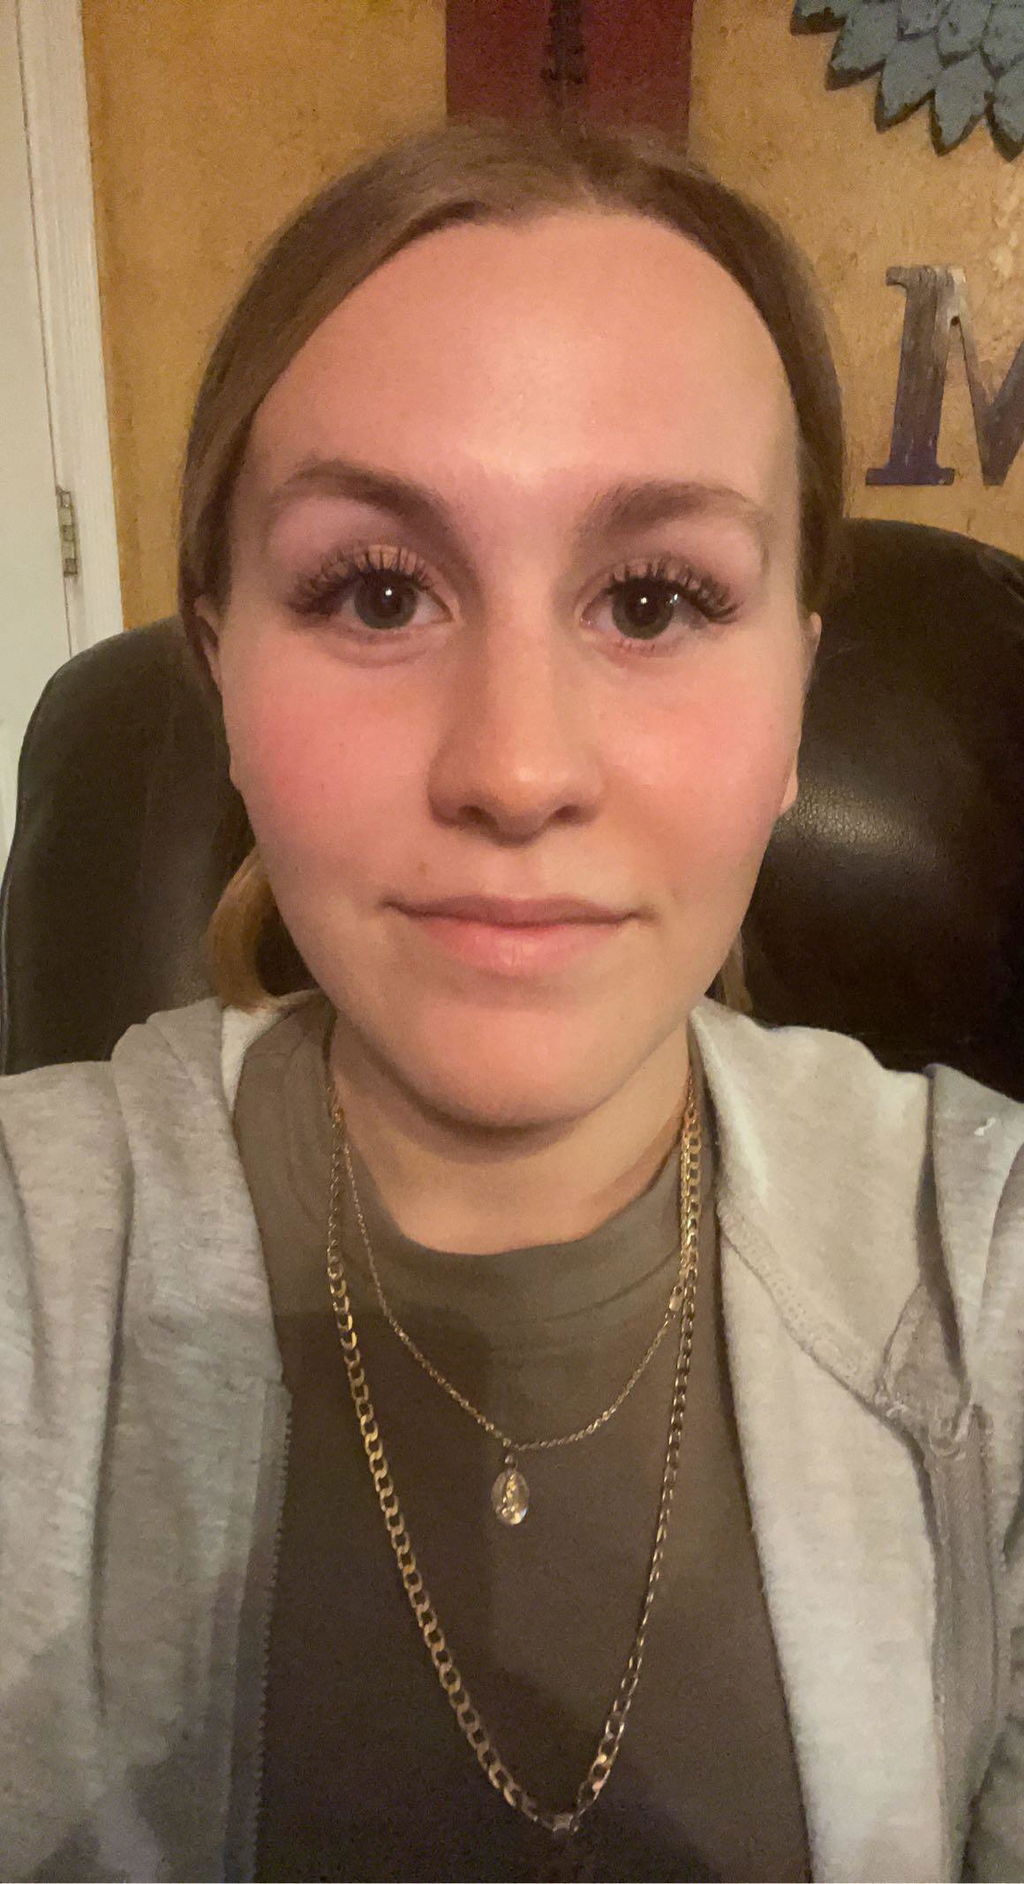
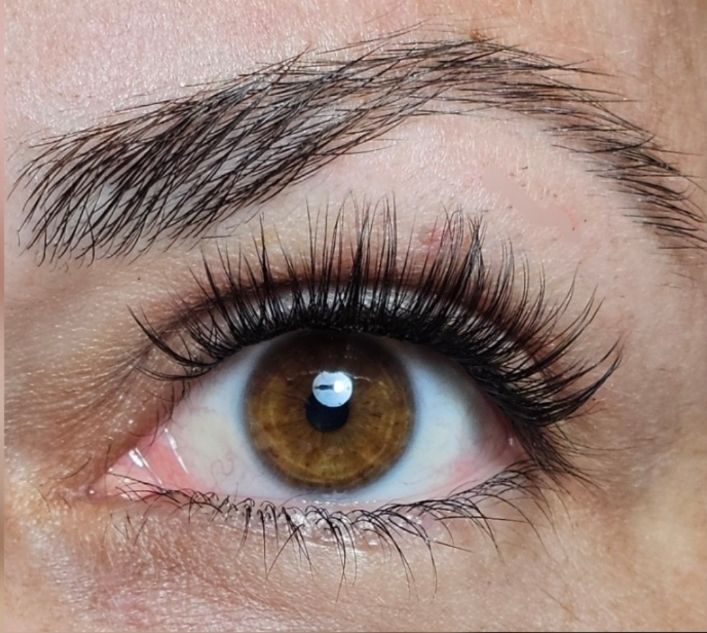
Minx DIY lashes offers multiple lengths and curls for a voluminous lash look.
Pre-mapped and ready to apply. Great for DIY lash beginners or for those days you don't want to create a lash map.
- Comes with (3) pairs
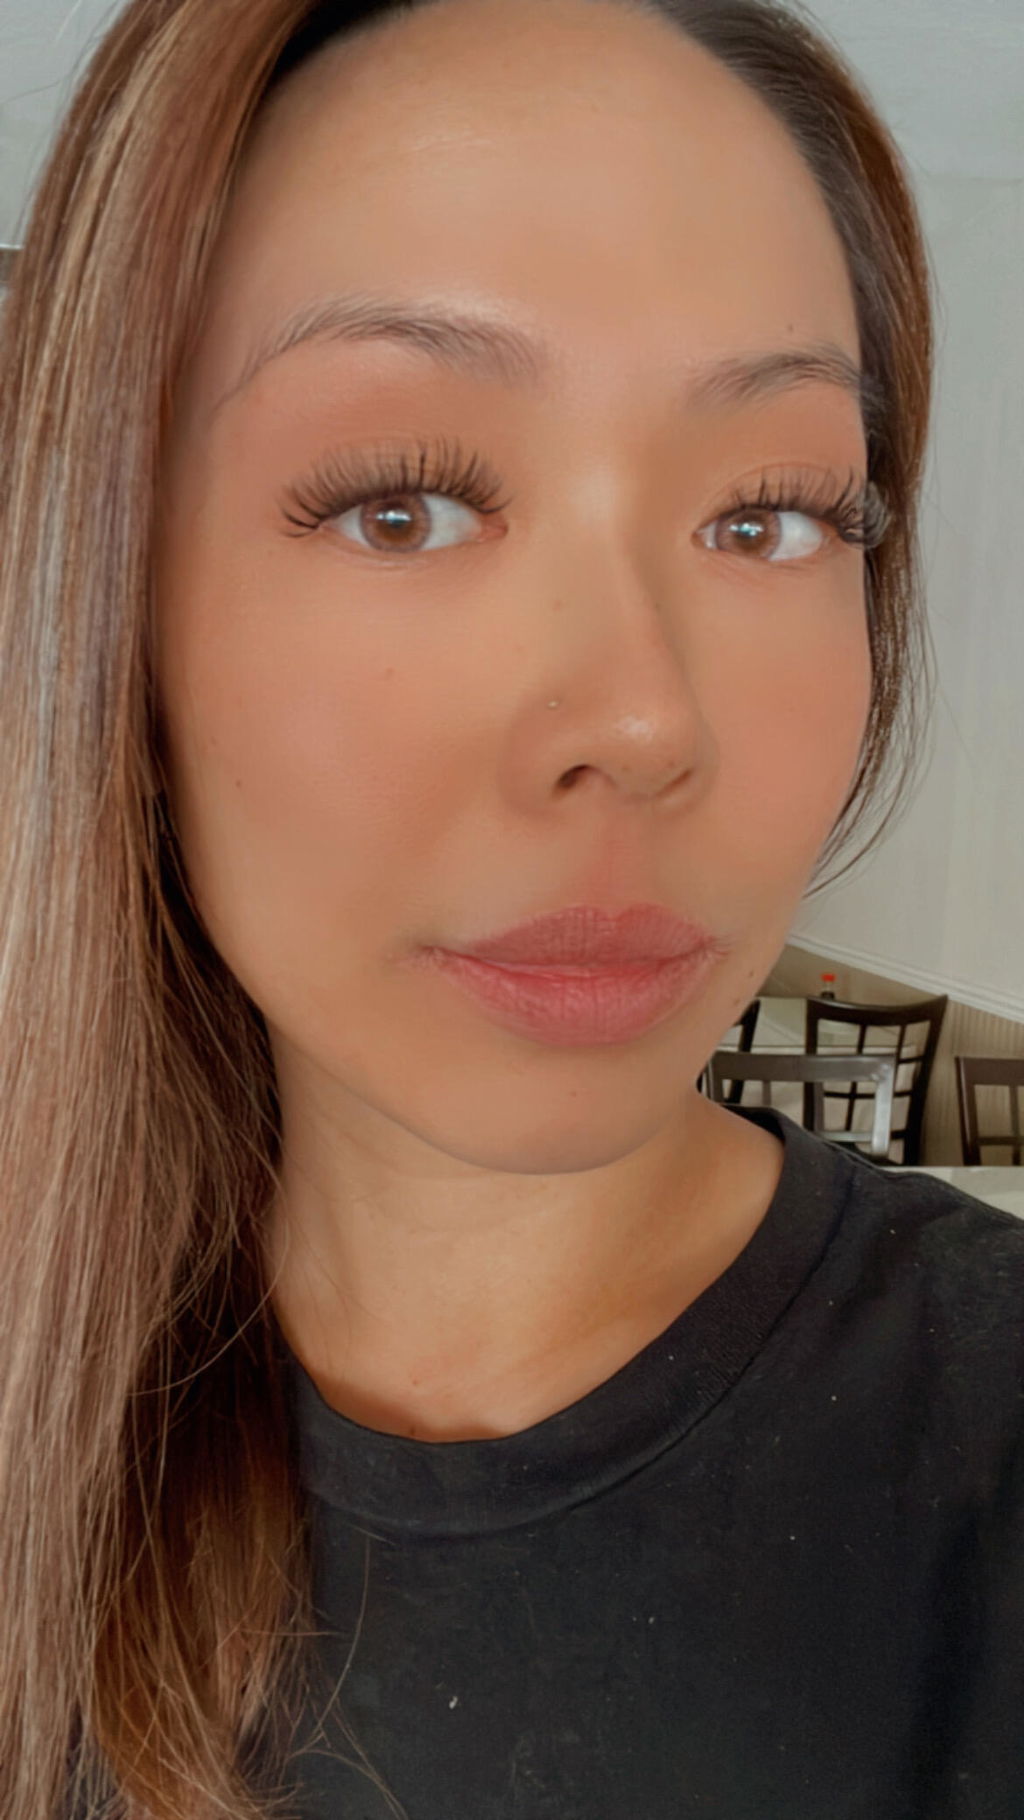
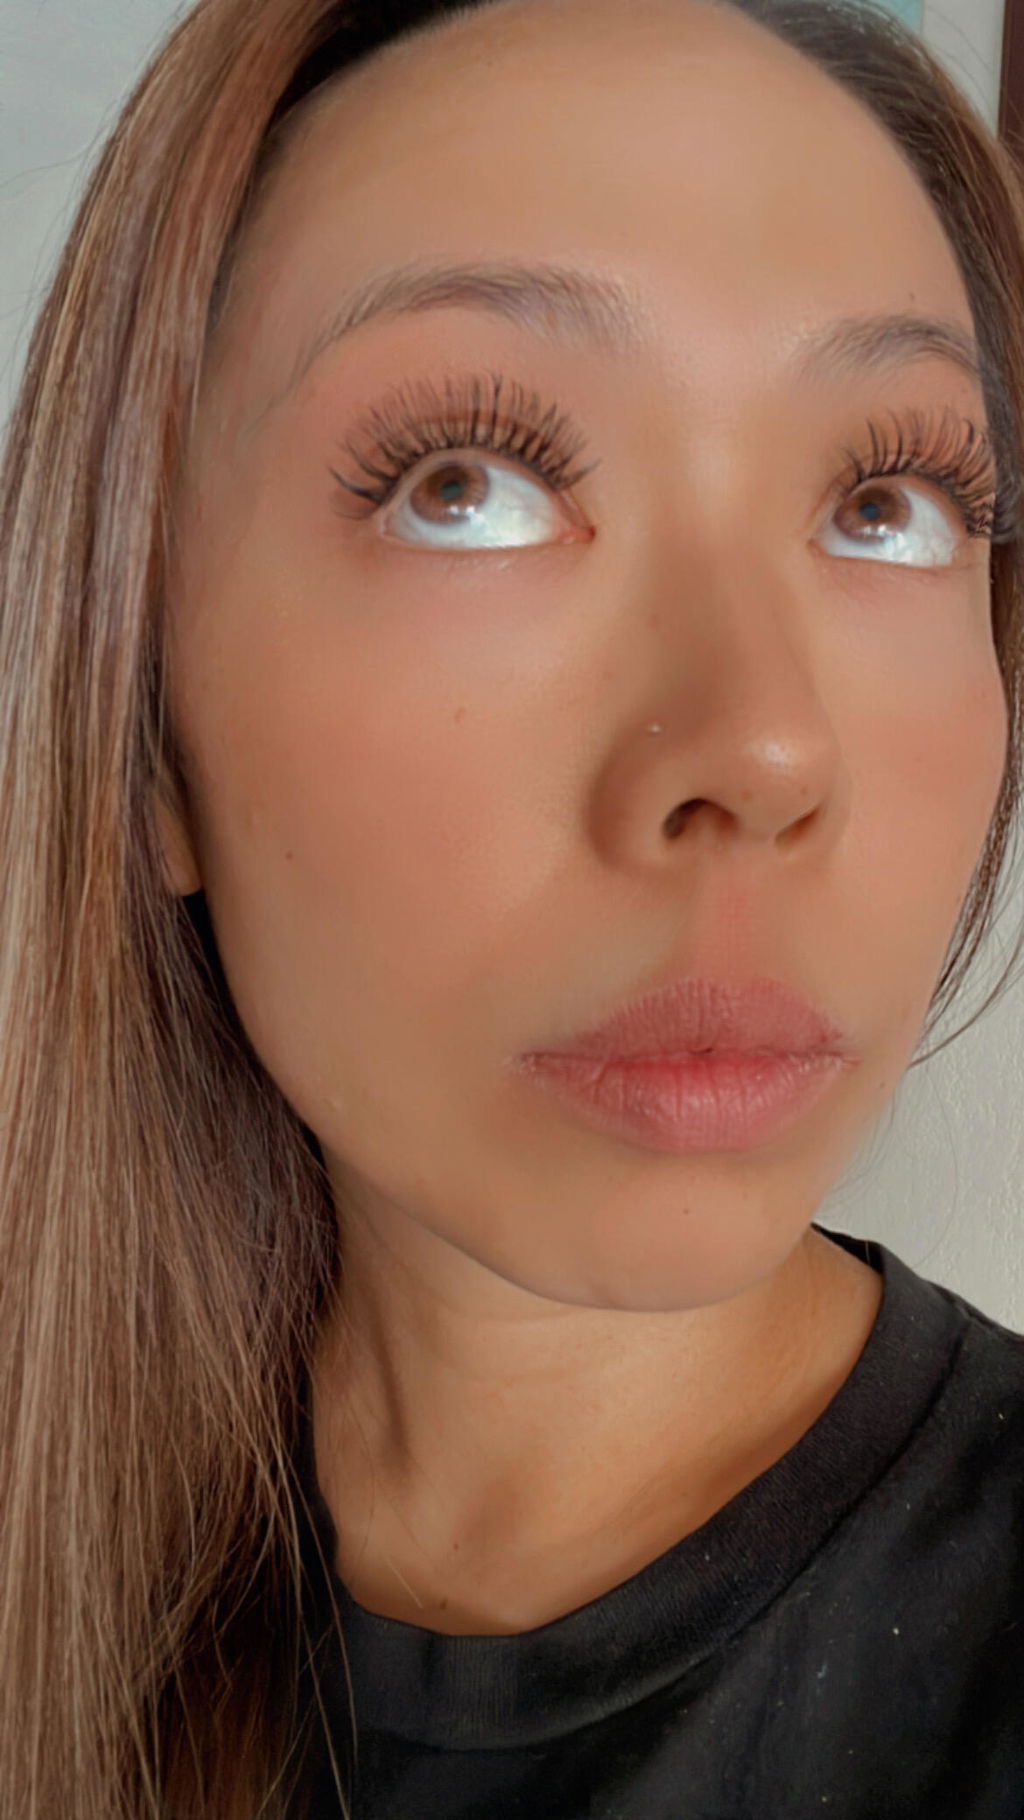
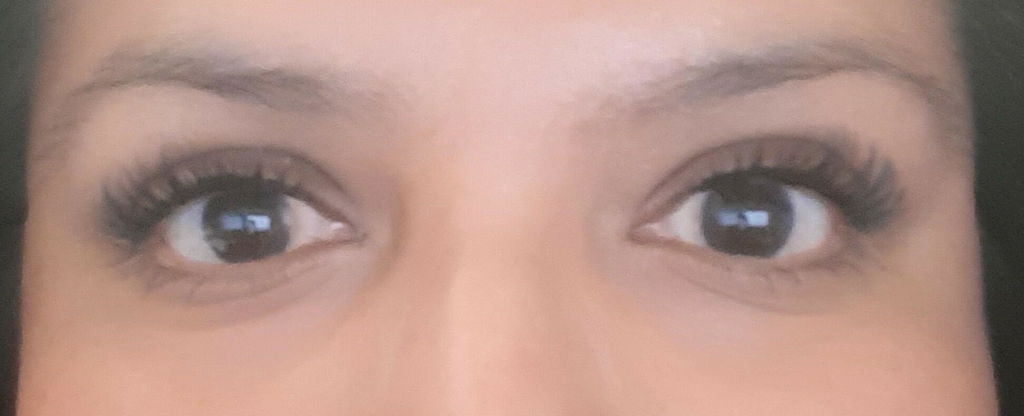
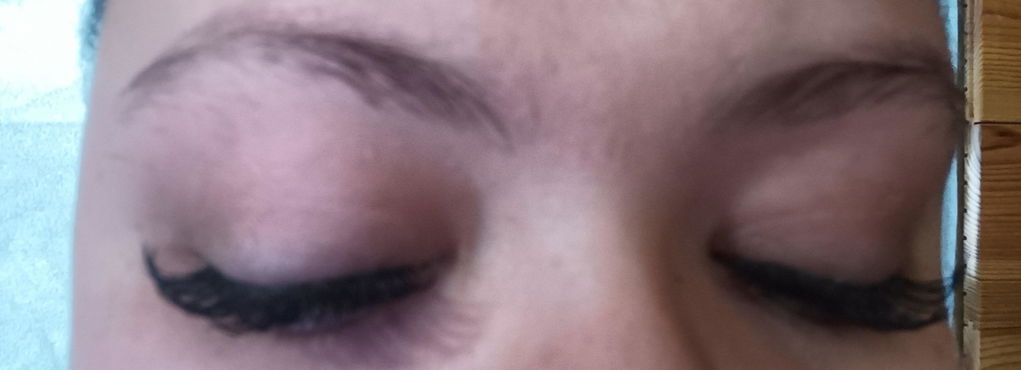
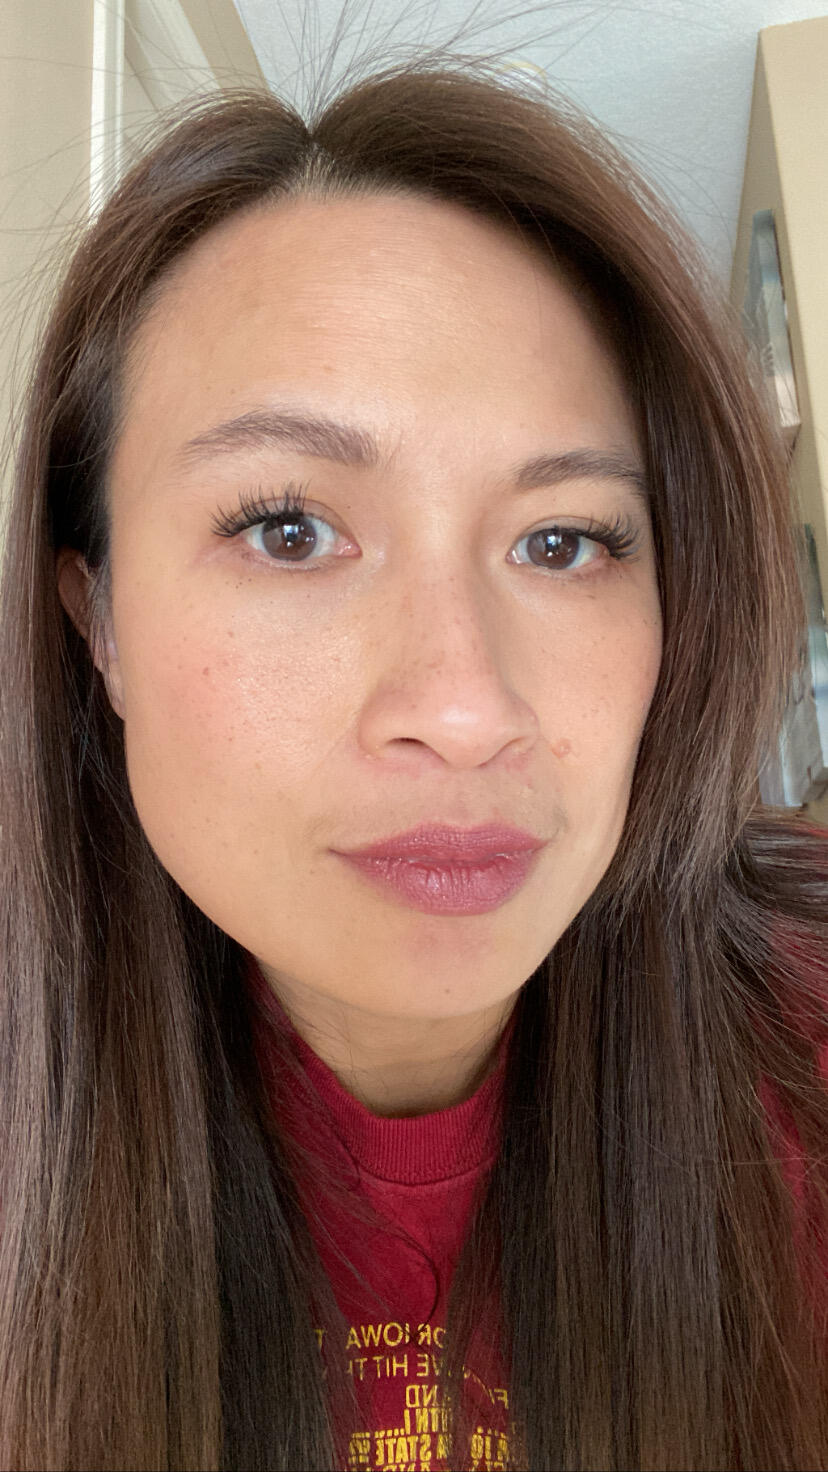
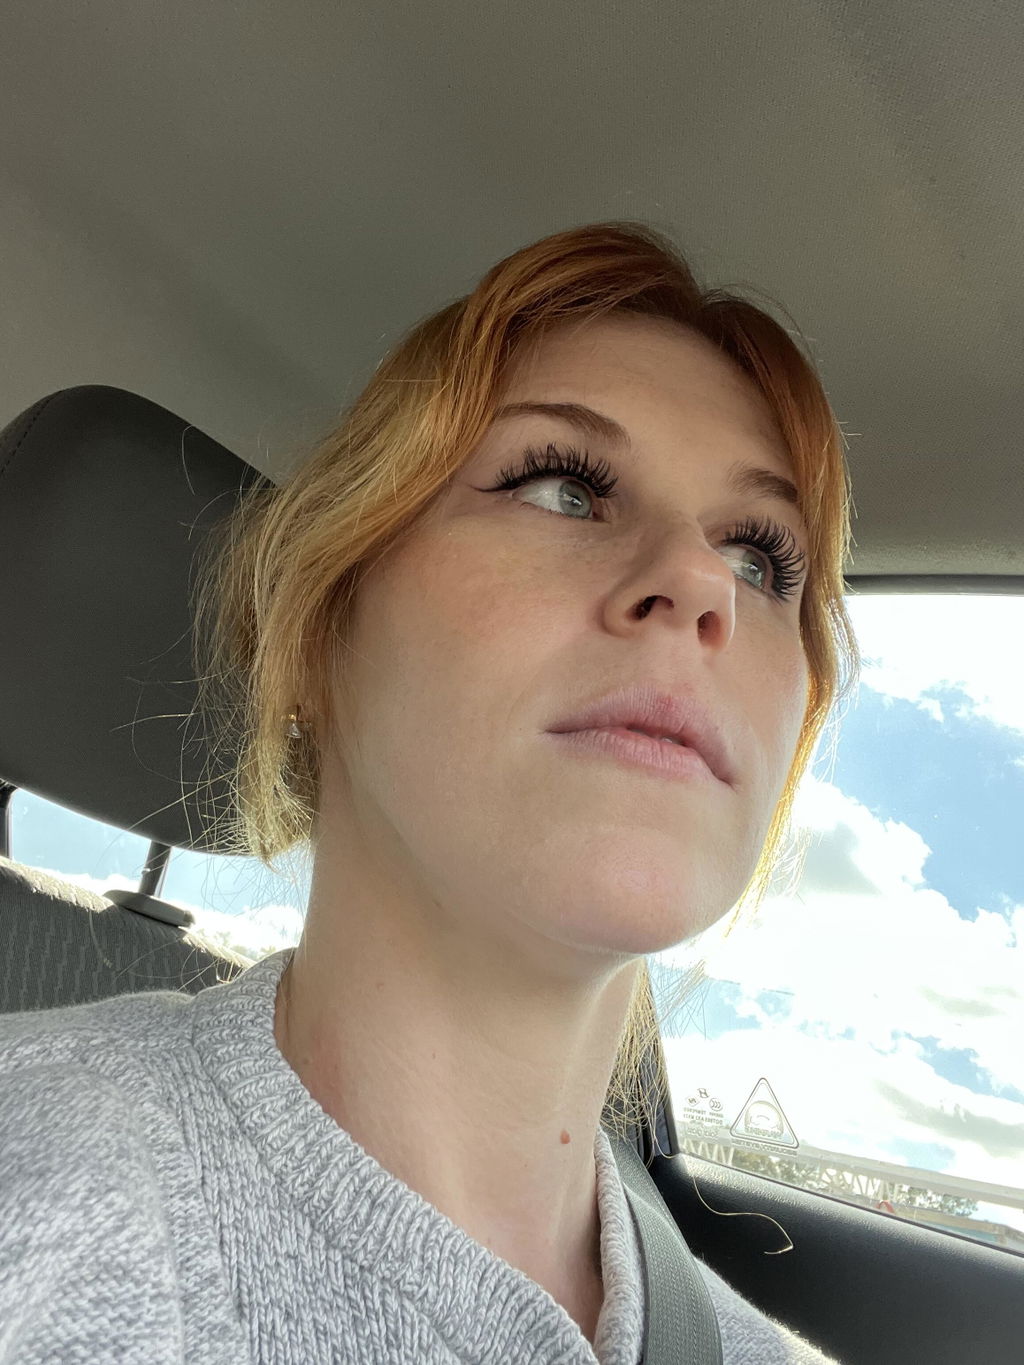
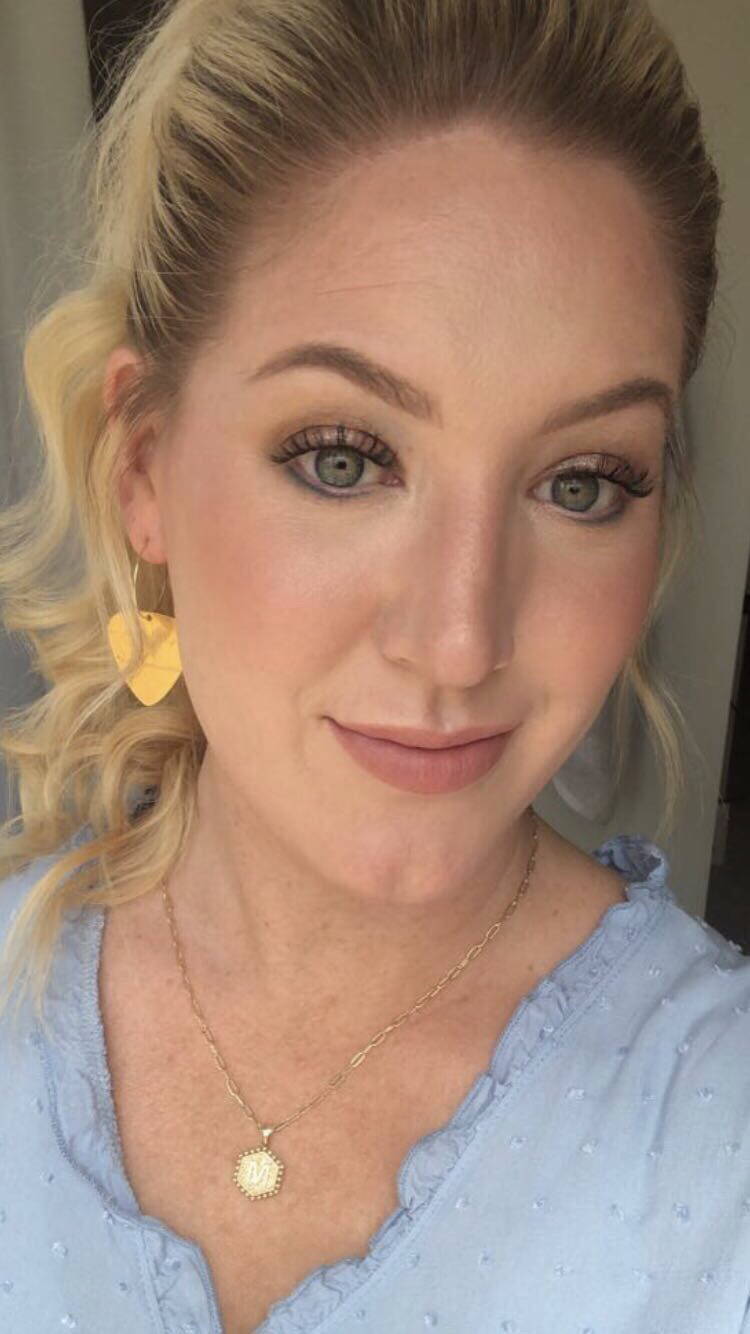
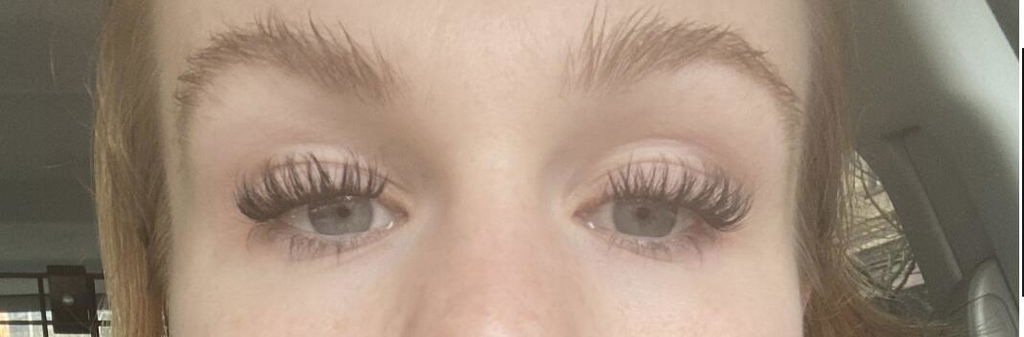
- Doll eye look
- C curl
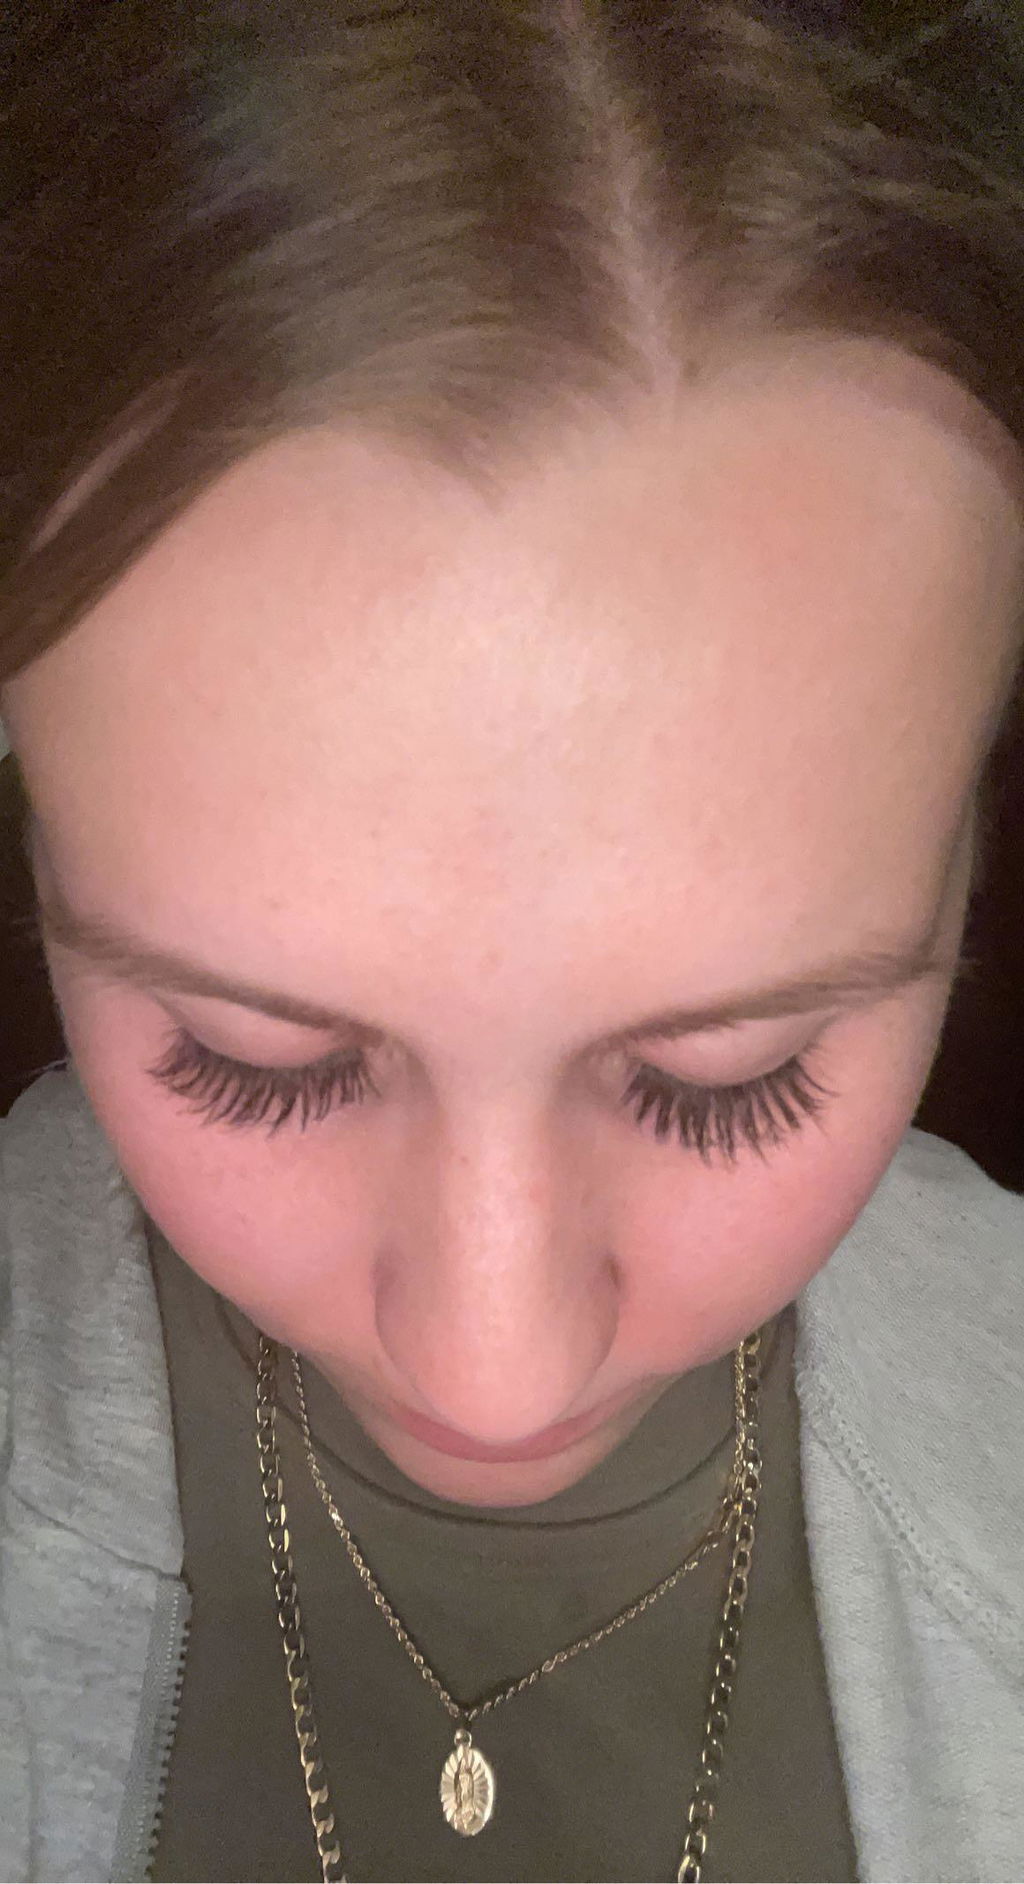
- Voluminous with multiple curls
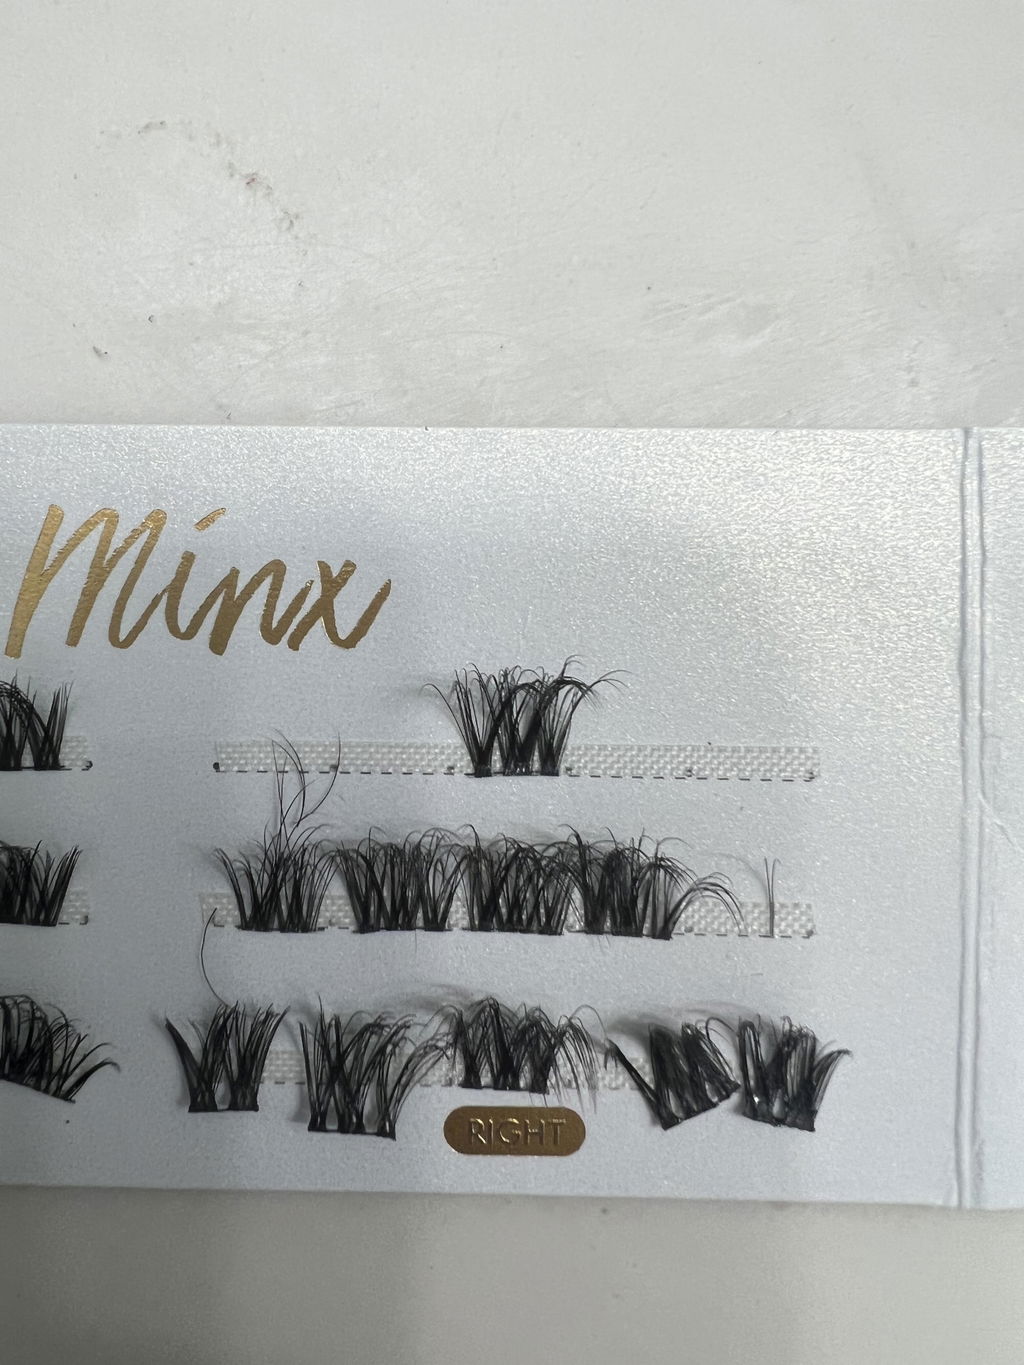
- Comes in 5 clusters
- Fiber: PBT (polybutylene terephthalate)
*IMPORTANT* Use your fingers to remove the lashes from packaging. Pinch lash fibers and pull away from tape slowly.
*IMPORTANT* LASH ADHESIVE NOT INCLUDED*
An easy and breezy guide on applying DIY lashes with lash clusters and lash ribbons.
Step 1 A: Lash Ribbons - Get those lash ribbons ready by snipping them with our scissors made just for cutting lashes into the perfect size you desire!
Go to Step 1 B if you have precut lash clusters

Step 1 B: If using lash clusters then pick up the lash cluster up with your fingers off the double sided tape: 
Step 2:
Apply DIY lash glue to the top side of the lash clusters

Step 3: Apply DIY lash glue to the under side of your natural lashes. Focusing just at the base of your natural lashes. DO NOT RUN THE GLUE THROUGH LIKE MASCARA. 
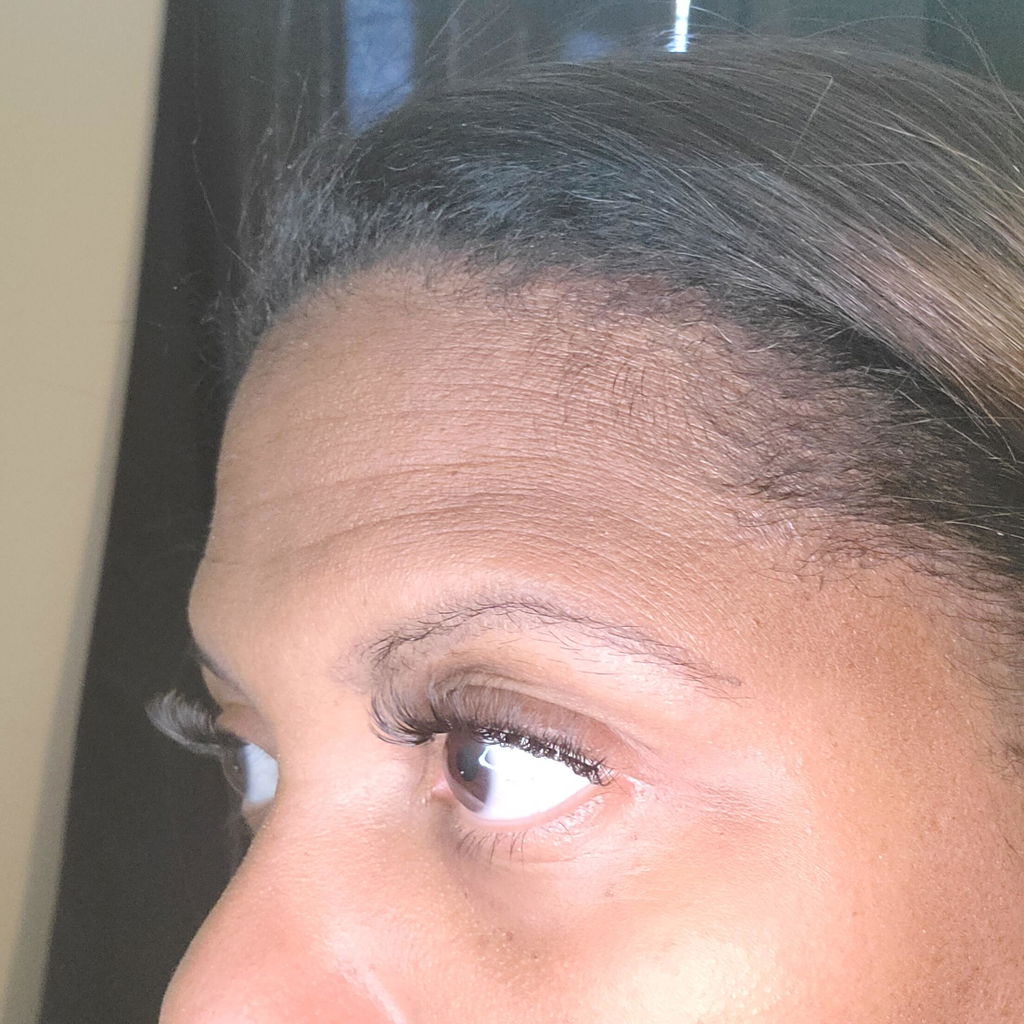
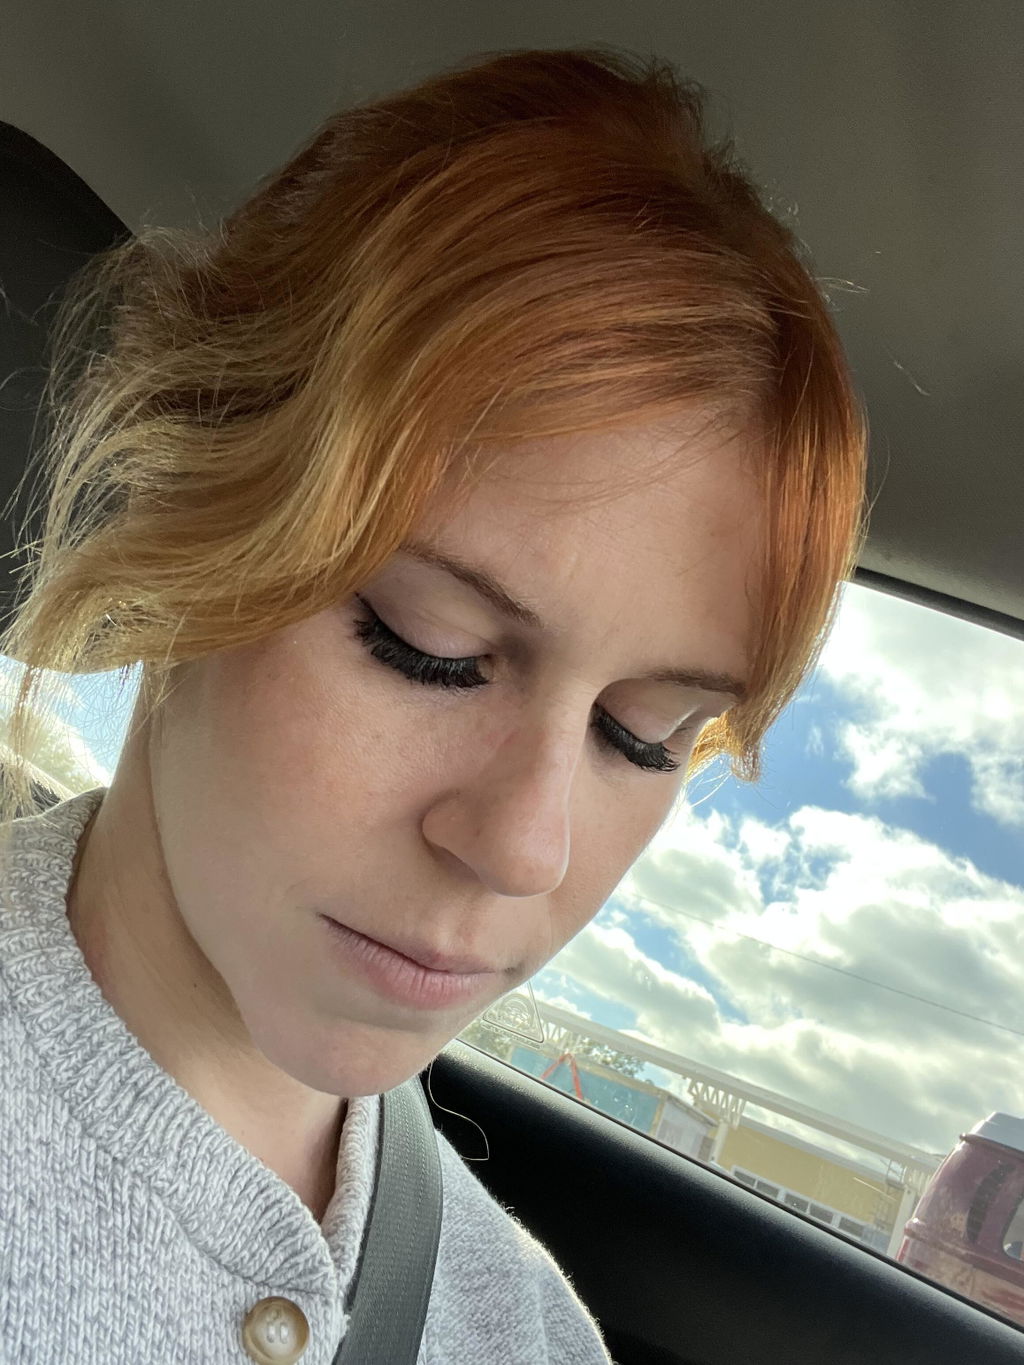
Step 4: Apply the cluster lashes to your natural lashes. See placement photo first.


Step 5: Wait 1 min and clamp your natural lashes and the false lashes together with your lash applicator. Using mittens are super helpful in this step.

Step 6: (Optional) Apply lash sealer to keep out moisture and reduce tackiness.

Now you're done! If it's your first time - placement will be a struggle but don't give up! Like anything new, you will have some issues the first time but once you do it a few time you'll get more and more comfortable.
We recommend you wear these at home lashes for 2-5 days then remove. We have a gentle remover that will help with this process.
Here's the link to learn how to remove DIY lashes
Shipping Times:
United States: ~5 - 7 Business Days
Canada: ~14 - 20 Business Days
Return Policy: Due to the natural of our products, all sales are final. Find out more here
Are they waterproof?
No our lash adhesive is not waterproof. However, it is Water-resistant: able to resist the penetration of water to some degree but not entirely.
How long can you wear the lashes for?
You can wear the lashes between 2-5 days.
How do you remove the lashes?
It's easier if we show you here
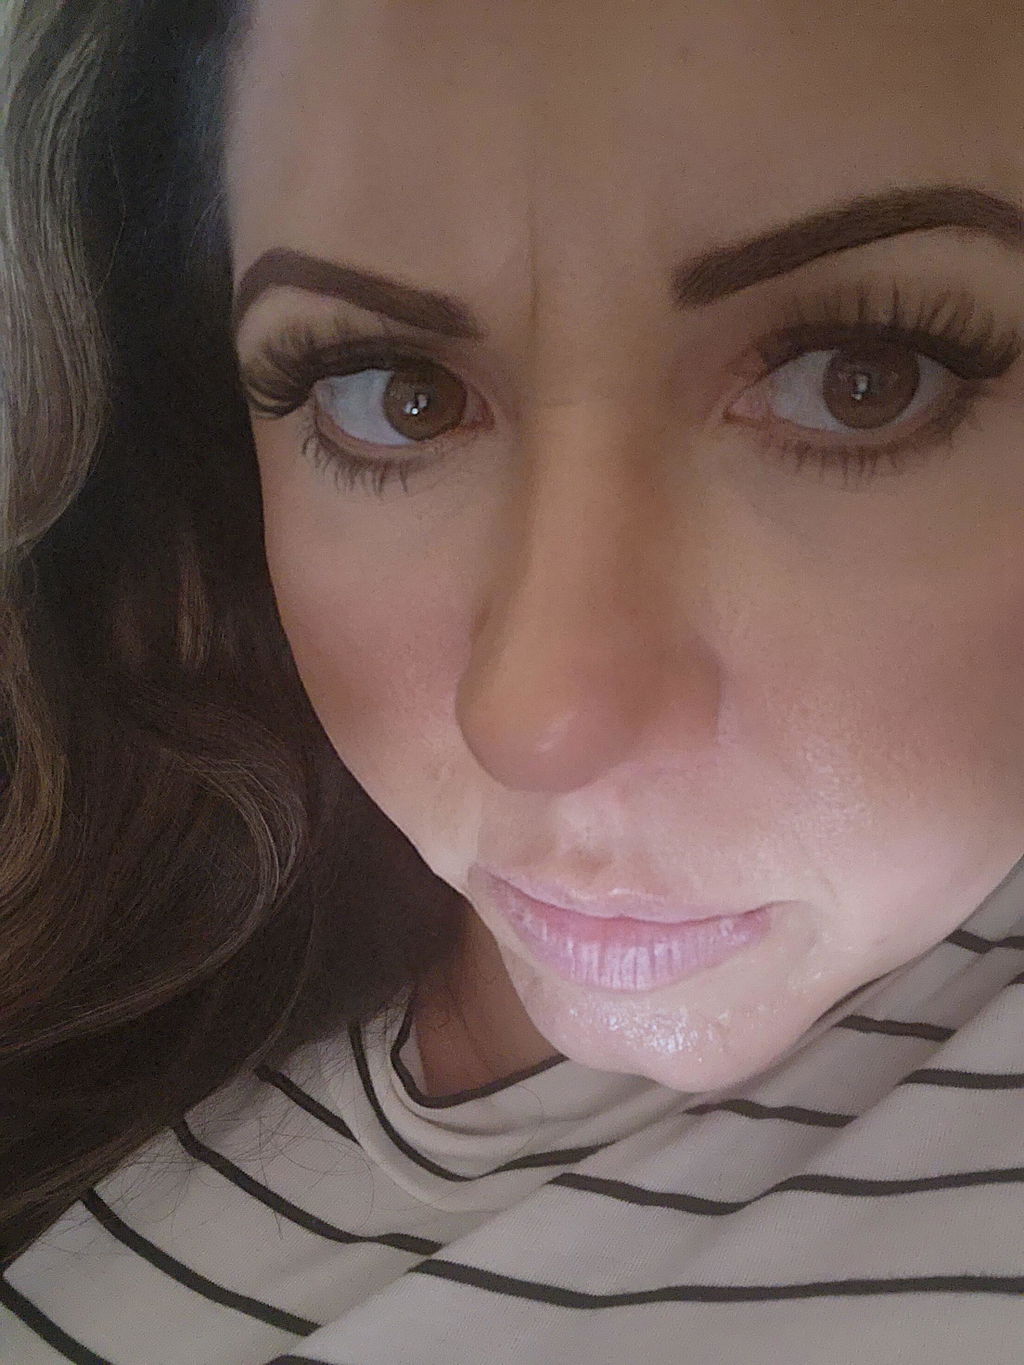
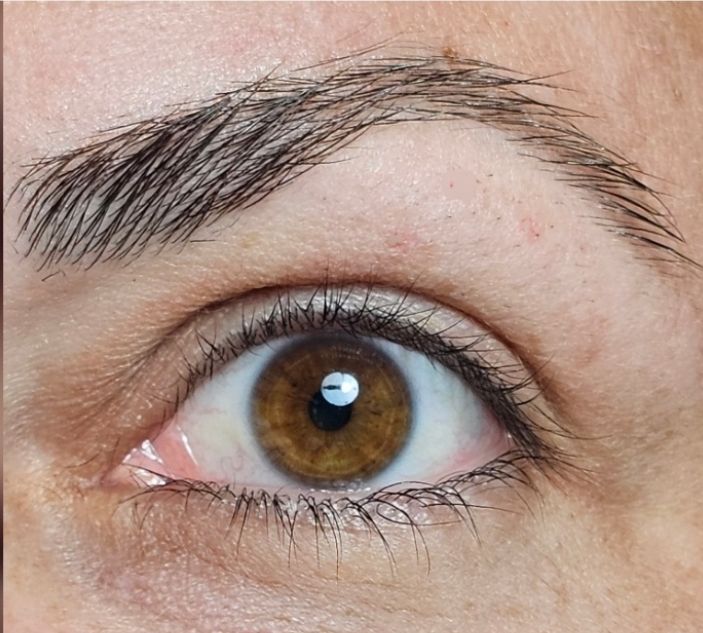
What is the difference between C and D curl?
Here's a visual for you
How do I wash my face with the lashes on?
Here's a video on how to wash your face with our lashes on.


)
)


