

DIY Lash Extensions Application In A Few Easy Steps Using Gifs
1st: Cut your DIY lash ribbons into smaller sections of your liking.

2nd: Apply lash adhesive to the band/spine of your cut lash ribbon pieces. Lashes are placed on our lash pad.

3rd: Apply lash adhesive to the underside of your natural lashes, focusing just at the base of your lashes (away from the waterline). DO NOT RUN THROUGH LIKE MASCARA.

4th: Pick up your cut lash ribbon pieces with your applicator and apply underneath your natural lashes away from your waterline. Lash ribbon pieces should be placed on your natural lashes, not on skin.

5th: Wait a few moments for the adhesive to dry and clamp lash ribbons and your natural lashes together.

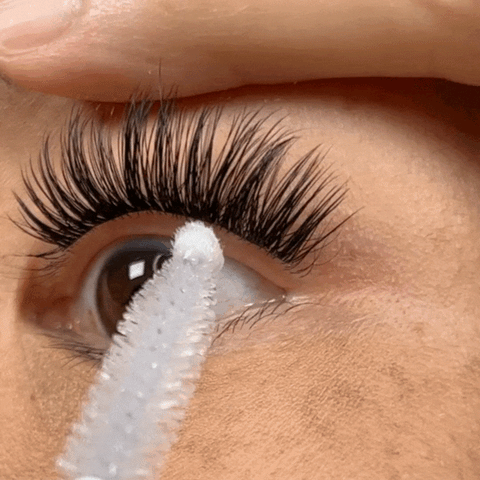
6th: Apply Glaze (lash sealer) to the underside of where you just applied your lash ribbons to reduce stickiness.
Now you're ready to wear your DIY lashes for 2-5 days.


Leave a comment